


Introduction
Precision editing with masks and inpainting is the practice of changing a selected part of an image while protecting the visual information that must remain stable. The goal is not simply to make a new image that looks attractive. The goal is to make a controlled change that feels as if it was always present in the original scene. This requires attention to boundaries, perspective, lighting, material behavior, and the role of each element in the composition.
A useful edit begins with a clear visual diagnosis. Identify the intended change, the information that must be preserved, and the evidence surrounding the selected area. For example, removing a chair from a room requires more than filling its silhouette. The replacement must continue the floor pattern, wall geometry, cast shadows, and negative space around the chair. Changing a red jacket to green requires protection of the person’s face, hands, body shape, folds, highlights, and shadow structure.
The four techniques in this lesson serve different purposes. Masking defines where an edit is allowed to occur. Inpainting reconstructs or replaces content inside an existing image. Outpainting extends the canvas beyond its original boundary. Targeted replacement changes a selected object, surface, or attribute while preserving the scene’s important structure. Choosing the smallest technique that solves the problem usually gives the most reliable result.
Mask Design and Visual Boundaries
A mask is a visual permission map. The selected area is where change may occur, while the protected area should remain untouched. Before creating the mask, inspect the object’s silhouette, nearby edges, and any details that cross the boundary, such as hair, foliage, thin cables, transparent glass, smoke, or shadows. A rough selection may be acceptable for a broad background, but it is risky around high-contrast edges and recognizable subjects.
The boundary should describe the intended edit, not merely the visible object. If you are replacing a vase, include the vase but decide separately whether its cast shadow, reflected highlight, or contact area should also be regenerated. If you are changing a wall color, avoid including the frame, baseboard, furniture edge, and floor unless those elements genuinely need to change. A mask that is too large creates unintended variation; a mask that is too tight can leave a visible rim of the old content.
Use feathering and edge softness according to the physical relationship between objects. A hard-edged product silhouette may need a controlled, clean boundary. Hair, fabric, mist, and foliage need softer transitions. The correct softness is not a fixed technical setting; it is the softness visible in the source image. Review the mask at a high zoom for edge leaks, but also review it at the final viewing size because an edge that appears technically clean may still feel unnaturally sharp in the composition.
Inpainting and Targeted Replacement
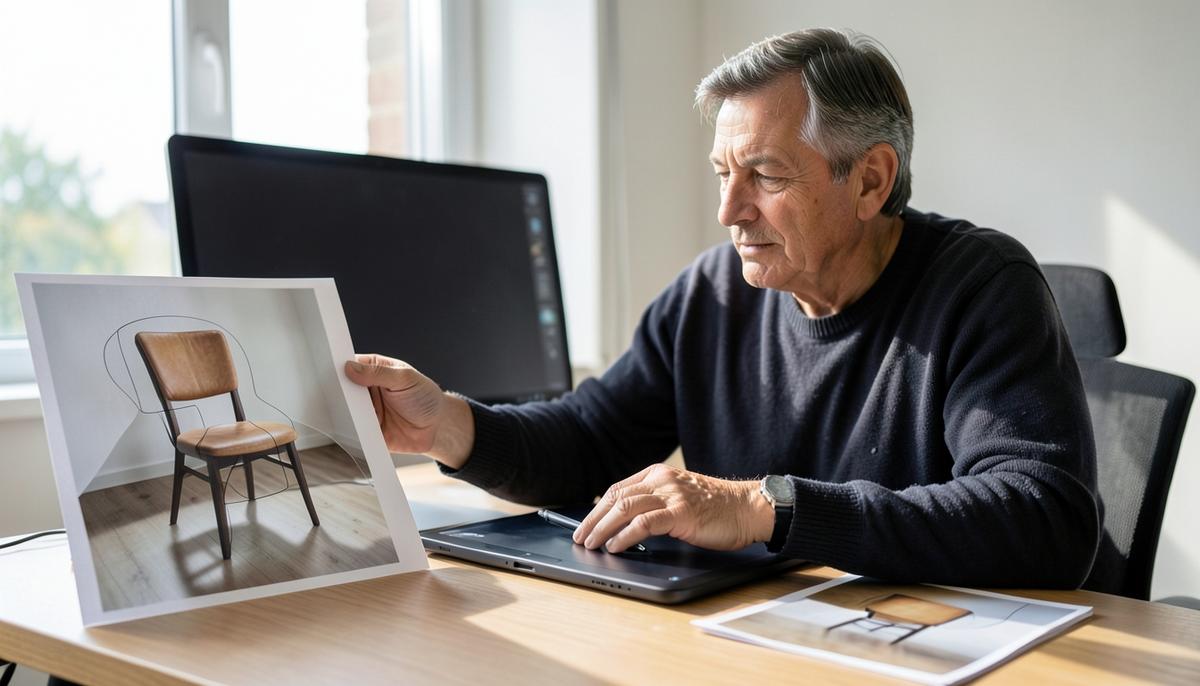
Inpainting is most effective when the surrounding image contains enough visual evidence to reconstruct the selected area. Replacing a small stain on a wall, removing a logo from a plain package, or filling a gap in a continuous background is usually easier than reconstructing a detailed object with unique geometry. Before editing, examine the nearest texture, repeated patterns, light direction, and perspective lines. These clues should guide the replacement more than the prompt or instruction alone.
For object removal, first determine what should appear behind the object. A removed lamp may reveal a wall and table surface; a removed person may reveal architecture, foliage, or another subject. The edit should restore the scene in logical layers: large shapes first, then material texture, then small details and shadows. Inspect the result for duplicated features, melted edges, incorrect vanishing lines, and texture that changes scale inside the repaired area.
Targeted replacement is different from simple removal because the selected object must retain its position and visual function. When changing a sofa material, preserve its silhouette, perspective, cushion divisions, and contact with the floor. When replacing a product label, preserve the package curvature, highlights, and occlusion. A successful replacement matches the scene’s lighting rather than imposing a new lighting style. Ask whether the new material reflects, absorbs, scatters, or diffuses light in a way that is physically consistent with the surrounding image.
Work in small passes instead of regenerating a large region repeatedly. A first pass can establish the main structure, while later passes repair a corner, restore a shadow, or remove an accidental detail. Save intermediate versions so that a local correction can be compared with the earlier result. If a single selected area keeps producing unstable results, reduce the mask and repair the image in neighboring zones rather than expanding the edit indefinitely.
Outpainting and Composition Control
Outpainting extends an image beyond its original canvas. Its main challenge is not filling empty space; it is continuing the composition without weakening the subject’s importance. Before extending an edge, decide why the extra space is needed. It may create room for a wider crop, balance an asymmetrical layout, reveal more environment, or provide breathing room for a visual-design format. The purpose determines how much detail and contrast the new area should contain.
Continue structural evidence first. Architectural lines should maintain their direction and scale. A road, table, horizon, or shelf should not bend unexpectedly at the old canvas boundary. Repeated textures such as tiles, bricks, leaves, or fabric should vary naturally instead of forming obvious cloned patterns. Atmospheric elements can be less detailed as they move away from the focal subject, but they still need to follow the image’s depth, color temperature, and lighting conditions.
Compositionally, the extension should support the existing hierarchy. Avoid placing a new high-contrast object near the edge if the original subject is supposed to remain dominant. Match the visual weight of the added area to the purpose of the new format. For example, a portrait extended for a horizontal layout may need quieter background space, while a landscape extended for a poster may require a coherent continuation of terrain and sky. Compare the original crop and the expanded composition at the final display size, not only at maximum zoom.
Visual Inspection and Correction
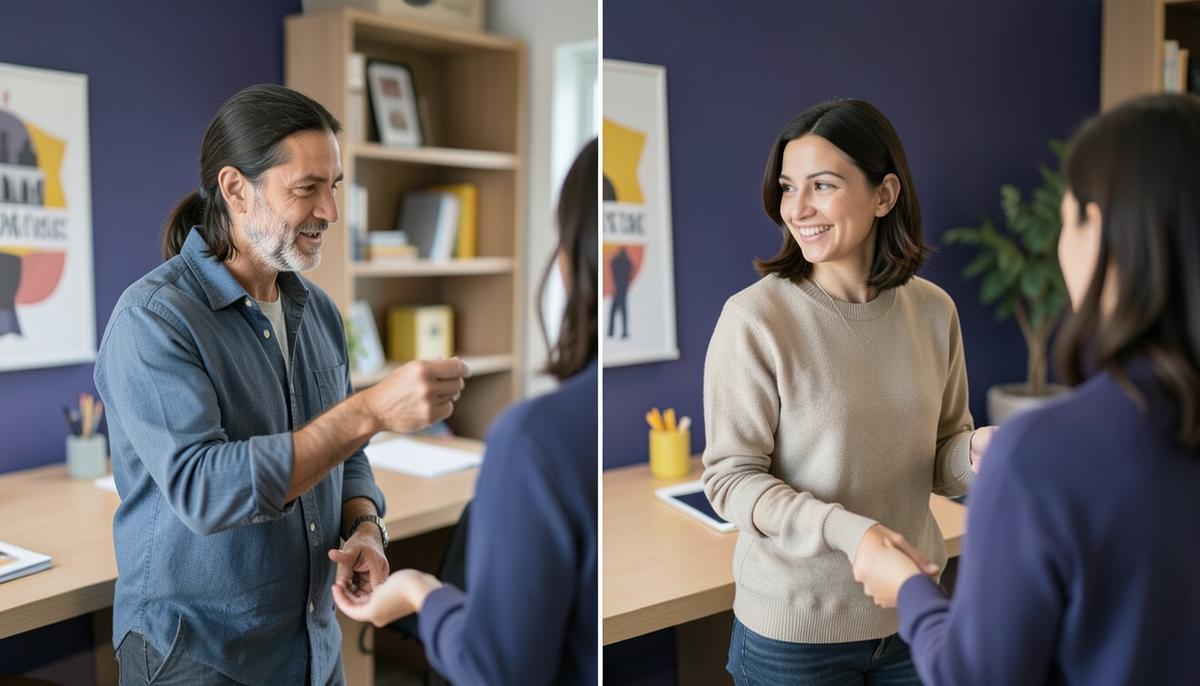
Evaluate every edit at three scales. At close range, inspect mask edges, hair or fabric transitions, texture continuity, and small geometry errors. At the normal viewing size, judge whether the edit attracts unintended attention or changes the subject’s identity. At a distance or reduced thumbnail size, check the composition, contrast balance, color distribution, and visual hierarchy. A result can pass a close inspection and still fail because the changed area is too bright, too sharp, or too saturated compared with the rest of the image.
Compare before and after versions using fixed questions. Did the protected subject retain its proportions and recognizable details? Does the edited region share the same light direction and color temperature? Do shadows make contact with surfaces? Are edges consistent with the depth of field? Does texture have a believable scale? Is there any repeated pattern, accidental object, or semantic detail that was not requested? These questions turn subjective review into a repeatable process.
Correct the most visible mismatch first. If the replacement has the wrong perspective, regenerate or refine structure before adjusting color. If the structure is correct but the area feels pasted in, adjust edge blending, local contrast, shadow density, and texture scale. If the entire image feels less coherent, the mask may have changed a neighboring element that should have been protected. Avoid compensating for a structural error with global color grading, because that can damage parts of the image that were already correct.
Practical Workflow and Summary
Begin by writing a one-sentence edit brief that identifies the object or area, the intended change, and the visual constraints. For example, “Remove the plastic bottle while preserving the table grain, diagonal sunlight, and the hand at the right edge.” This brief prevents unnecessary changes and gives you criteria for comparing each result. Next, mark protected areas, create the smallest useful mask, and inspect the first output for structural errors before polishing details.
After the first pass, review the image in context and classify problems as boundary, structure, material, lighting, or composition issues. Refine only the relevant region. Boundary problems require mask adjustment; structure problems require attention to perspective and shape; material problems require texture and reflectance consistency; lighting problems require coherent shadows and highlights; composition problems may require changing the crop or reducing visual emphasis. This classification keeps corrections targeted and avoids uncontrolled editing.
A precise result is not necessarily the most detailed result. It is the result in which the requested change is clear, the protected information remains stable, and the edited area agrees with the source image’s visual logic. Strong practitioners make fewer but better-controlled changes, inspect before and after states at multiple scales, and treat masks as decisions about visual responsibility rather than simple selections.
Lesson Checkpoint
Review what you learned and get feedback on your work.