


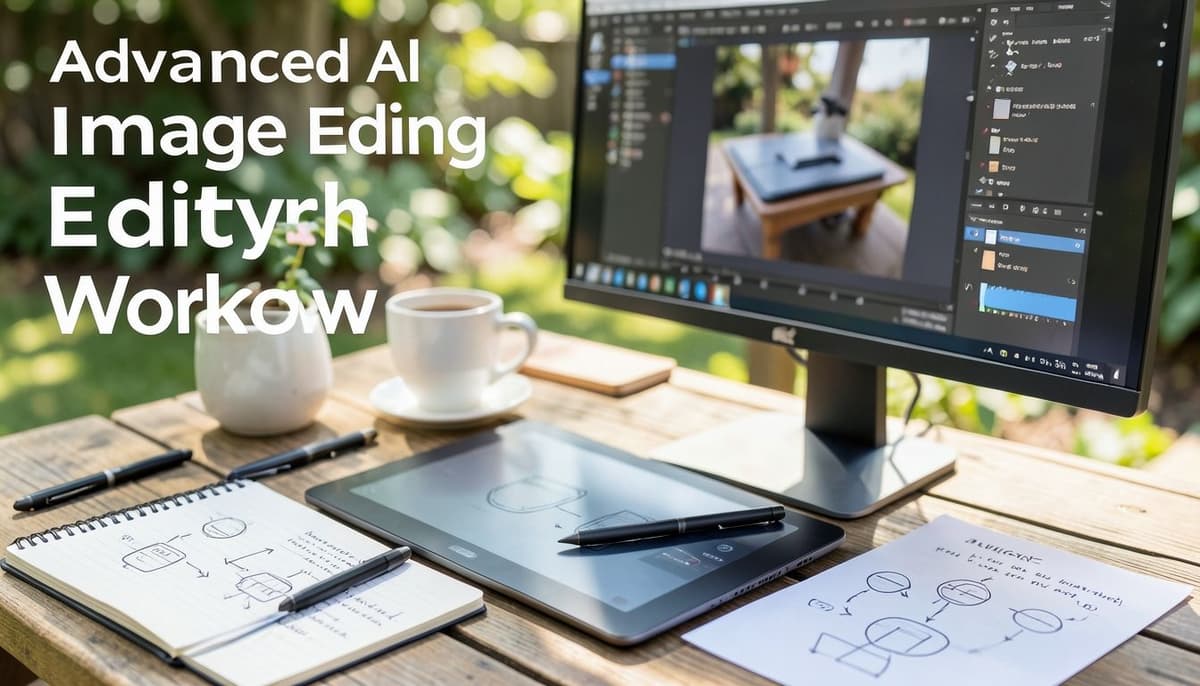
Advanced AI Image Editing Workflow
Start with a Precise Visual Brief
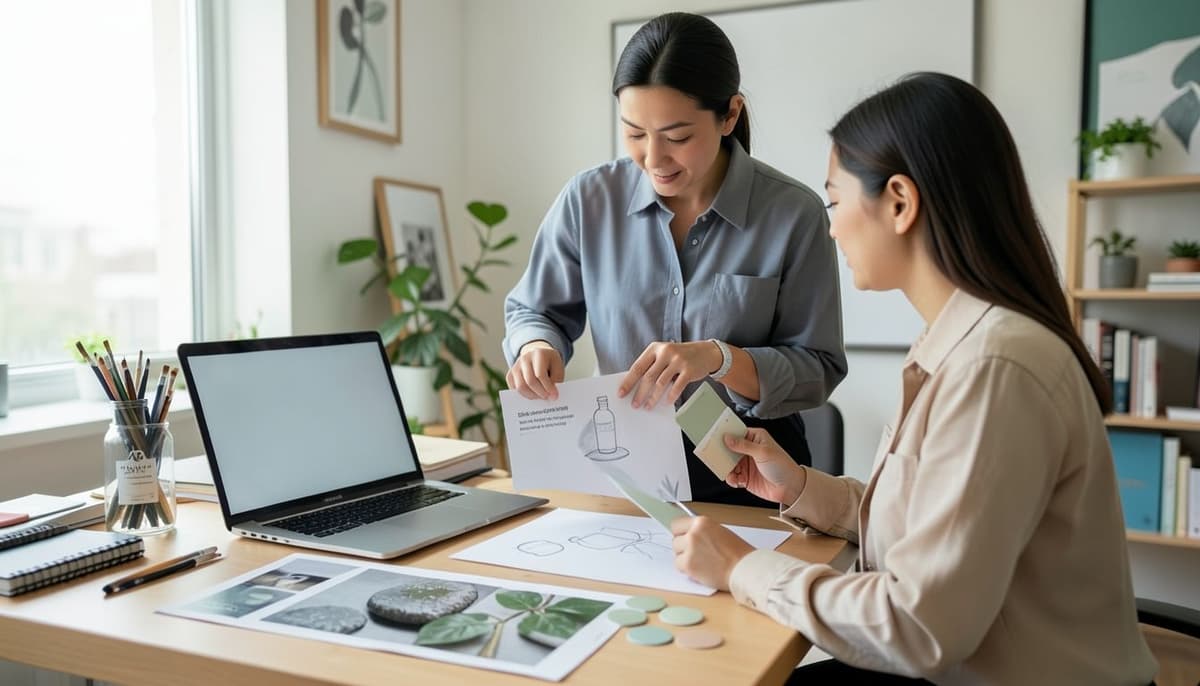
An advanced AI image editing workflow begins before you open an image generator or editor. Translate the request into observable decisions: subject, environment, camera angle, aspect ratio, lighting direction, color palette, intended audience, and delivery format. For example, a brief for a skincare campaign might require a glass bottle on wet stone, soft morning light from the upper left, pale green accents, and enough negative space on the right for copy.
Separate fixed requirements from flexible preferences. The product logo, bottle shape, label position, and campaign colors may be non-negotiable, while the background texture or arrangement of leaves can change during exploration. This distinction prevents the AI from spending iterations on details that should have been protected and gives you a clear quality checklist for the final image.
Analyze References Before Prompting
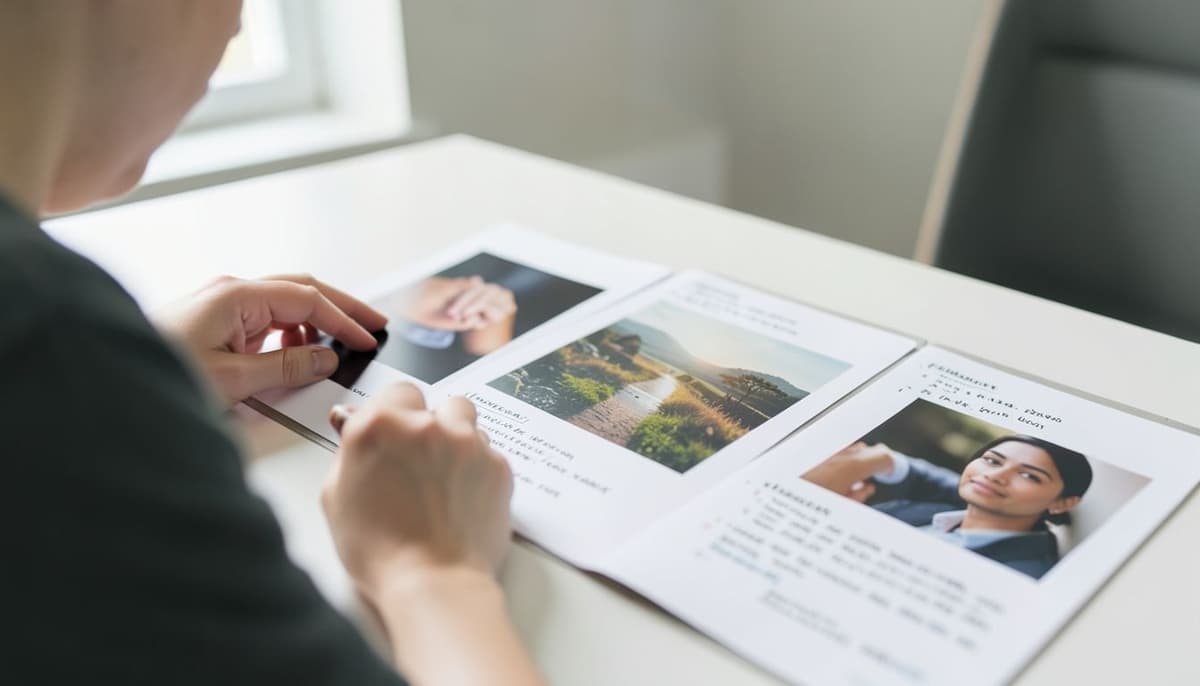
Reference images are useful when you analyze them instead of simply attaching them to a prompt. Identify the composition, focal length impression, light quality, depth of field, surface materials, and relationship between subject and background. A reference may show a close-up product shot with a low camera angle, a hard rim light, and a dark reflective surface; those are actionable visual attributes, not just a general mood.
Create a short visual direction statement before writing the prompt. For instance, “centered 85mm product portrait, low horizon, diffused side light, controlled reflections, deep charcoal background, premium editorial finish” gives the system a more coherent target than “make it luxurious.” This analysis also helps you reject attractive but unsuitable results that do not match the campaign’s hierarchy or intended use.
Build Prompts for Controlled Results
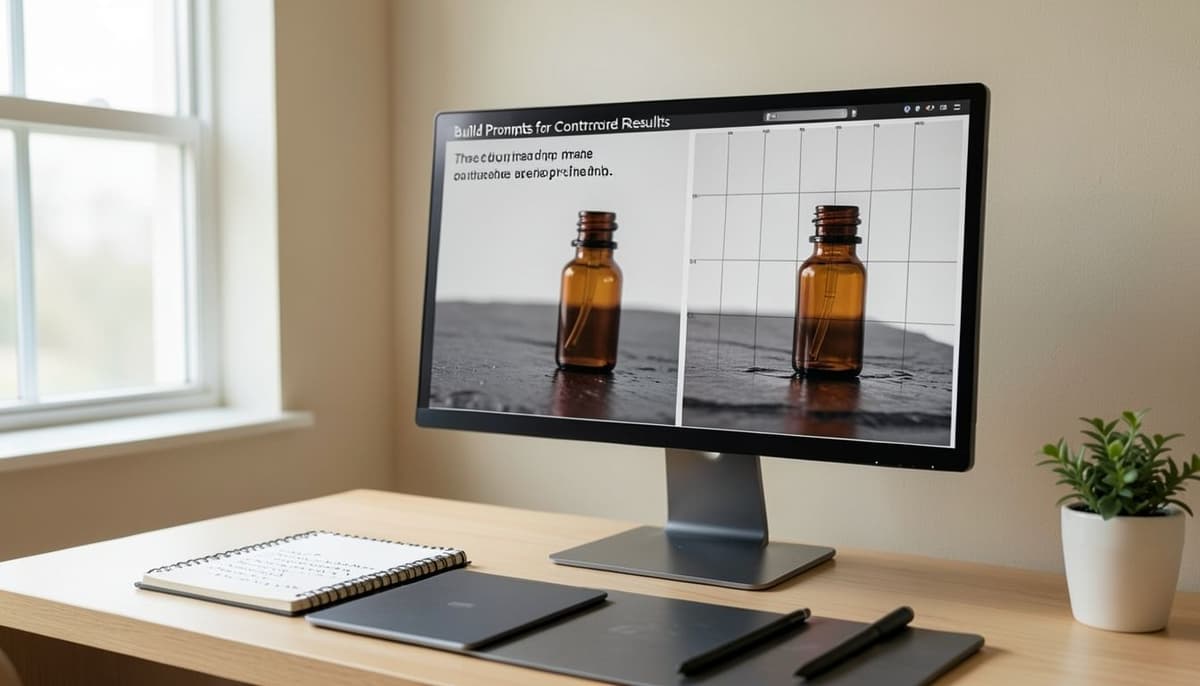
Prompting for advanced AI image editing works best when the language follows the visual priority of the brief. Start with the main subject and action, then describe composition, environment, lighting, materials, color, style, and technical constraints. A useful product prompt might specify “a transparent amber serum bottle standing upright on dark wet slate, three-quarter view, bottle occupying the central third, soft window light from camera left, subtle reflection beneath the base, clean space on the right.”
Avoid placing every possible adjective into one prompt. Excessive descriptors can compete with the subject and make it difficult to understand why a result changed. Test one meaningful variable at a time, such as moving from a centered composition to a right-aligned composition or changing only the light from diffuse to directional. Save the prompt, reference assets, settings, and selected result for each meaningful iteration so the workflow remains reproducible.
Use Image-to-Image for Structure
Image-to-image workflows are valuable when a generated result must follow an existing photograph, sketch, or layout. The source image provides structural information such as pose, silhouette, perspective, and object placement, while the prompt guides the new materials, environment, or visual treatment. For example, a rough product photograph can preserve the bottle’s proportions while the AI develops a more refined studio background.
Control the strength of transformation according to what must survive. A low transformation level can retain the original pose and composition but may leave unwanted lighting or texture; a high level can produce a dramatic redesign but may distort identity, text, or object geometry. Work from a clean source, crop it to the target aspect ratio, and compare each output against the original structure rather than judging only its visual novelty.
Edit Locally with Masks and Inpainting
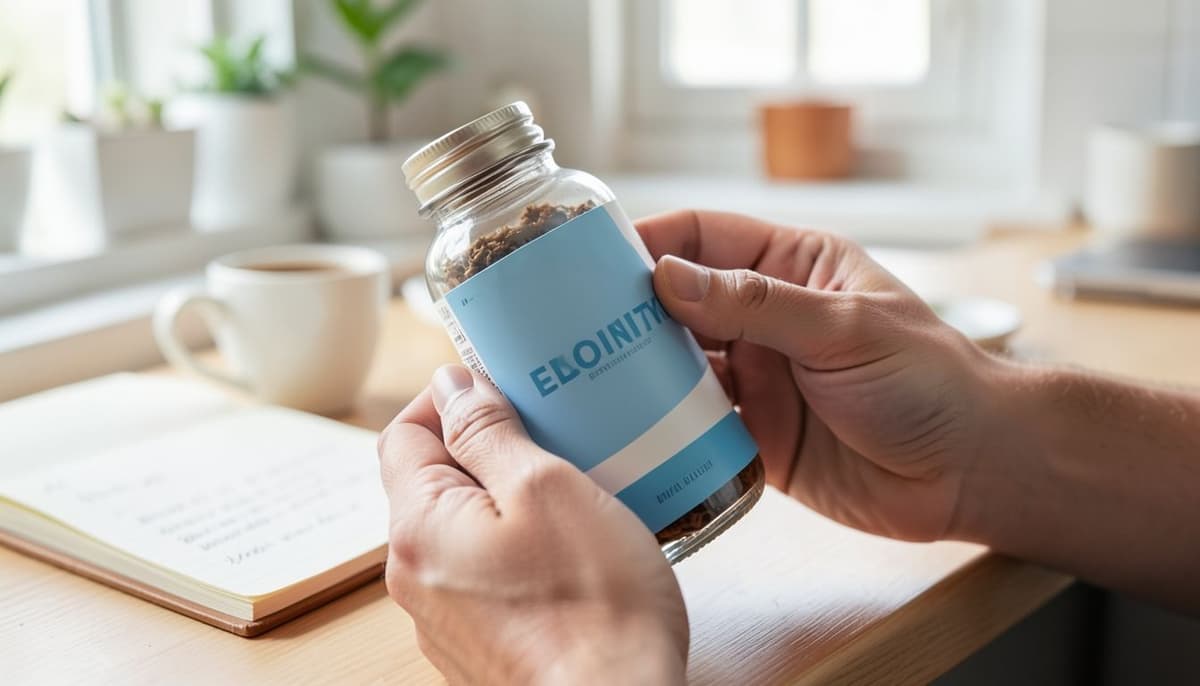
Masking and inpainting provide local control when the whole image is already close to correct. Use a mask to isolate one area, such as a damaged label, an extra object, an incorrect hand, or a distracting background element. For a model holding a branded package, you might protect the face, clothing, and package outline while inpainting only the fingers that overlap the front label.
Keep masks slightly inside the boundary when protecting precise edges, then expand them gradually if the transition looks artificial. Inpainting prompts should describe the local replacement and its relationship to nearby pixels, such as “natural index finger wrapping around the package edge, consistent skin tone, same soft side lighting, realistic contact shadow.” Review the result at both full size and actual delivery size because small seams may be invisible in a social thumbnail but obvious in a print layout.
Maintain Style Across Multiple Assets
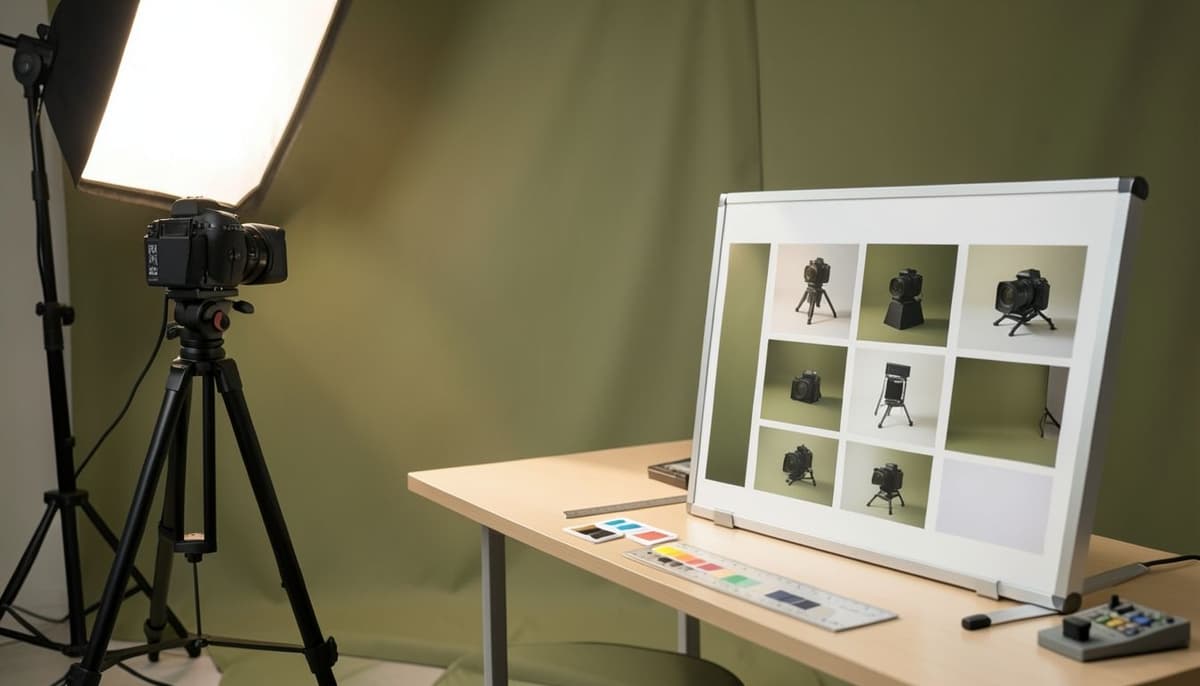
A single successful image does not automatically create a coherent visual system. For a campaign, define reusable rules for camera distance, light direction, contrast, color temperature, background material, product scale, and negative space. If the first image uses warm side light, muted olive accents, and a low camera angle, later images should preserve those decisions unless the creative brief deliberately introduces a new visual chapter.
Use a small set of approved references and compare new outputs in a contact sheet rather than one at a time. Check whether the product occupies a similar percentage of the frame, whether shadows fall consistently, and whether the palette supports the same brand impression. When an image feels inconsistent, diagnose the specific cause, such as a cooler white balance or a wider virtual lens, before rewriting the entire prompt.
Refine Artifacts and Prepare the Final File
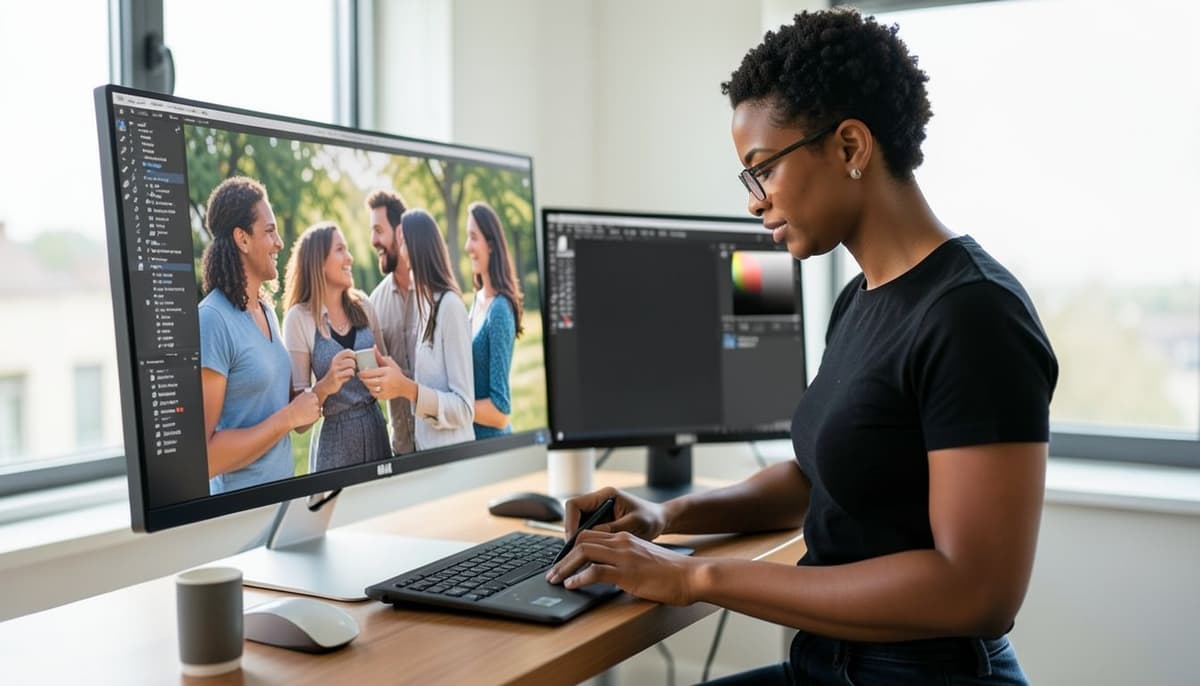
Professional refinement is the stage where visual judgment matters most. Inspect hands, eyes, teeth, jewelry, repeated patterns, reflections, thin edges, and small text at high zoom, then correct each problem with a focused mask or conventional editing tool. AI-generated lettering is often unreliable, so replace important typography with real text in the design application instead of accepting a nearly correct label.
Finish by checking the image at its actual use size and against the delivery requirements. Confirm dimensions, aspect ratio, color mode, sharpness, transparency needs, and file format; a polished RGB image for a web banner is not automatically ready for print production. Keep the original source, layered edits, prompt history, selected references, and final export together so another designer can understand how the result was produced and revise it without starting from zero.
Further Reading
Build the Complete System
Continue learning with the related course:
Tags :
- design